






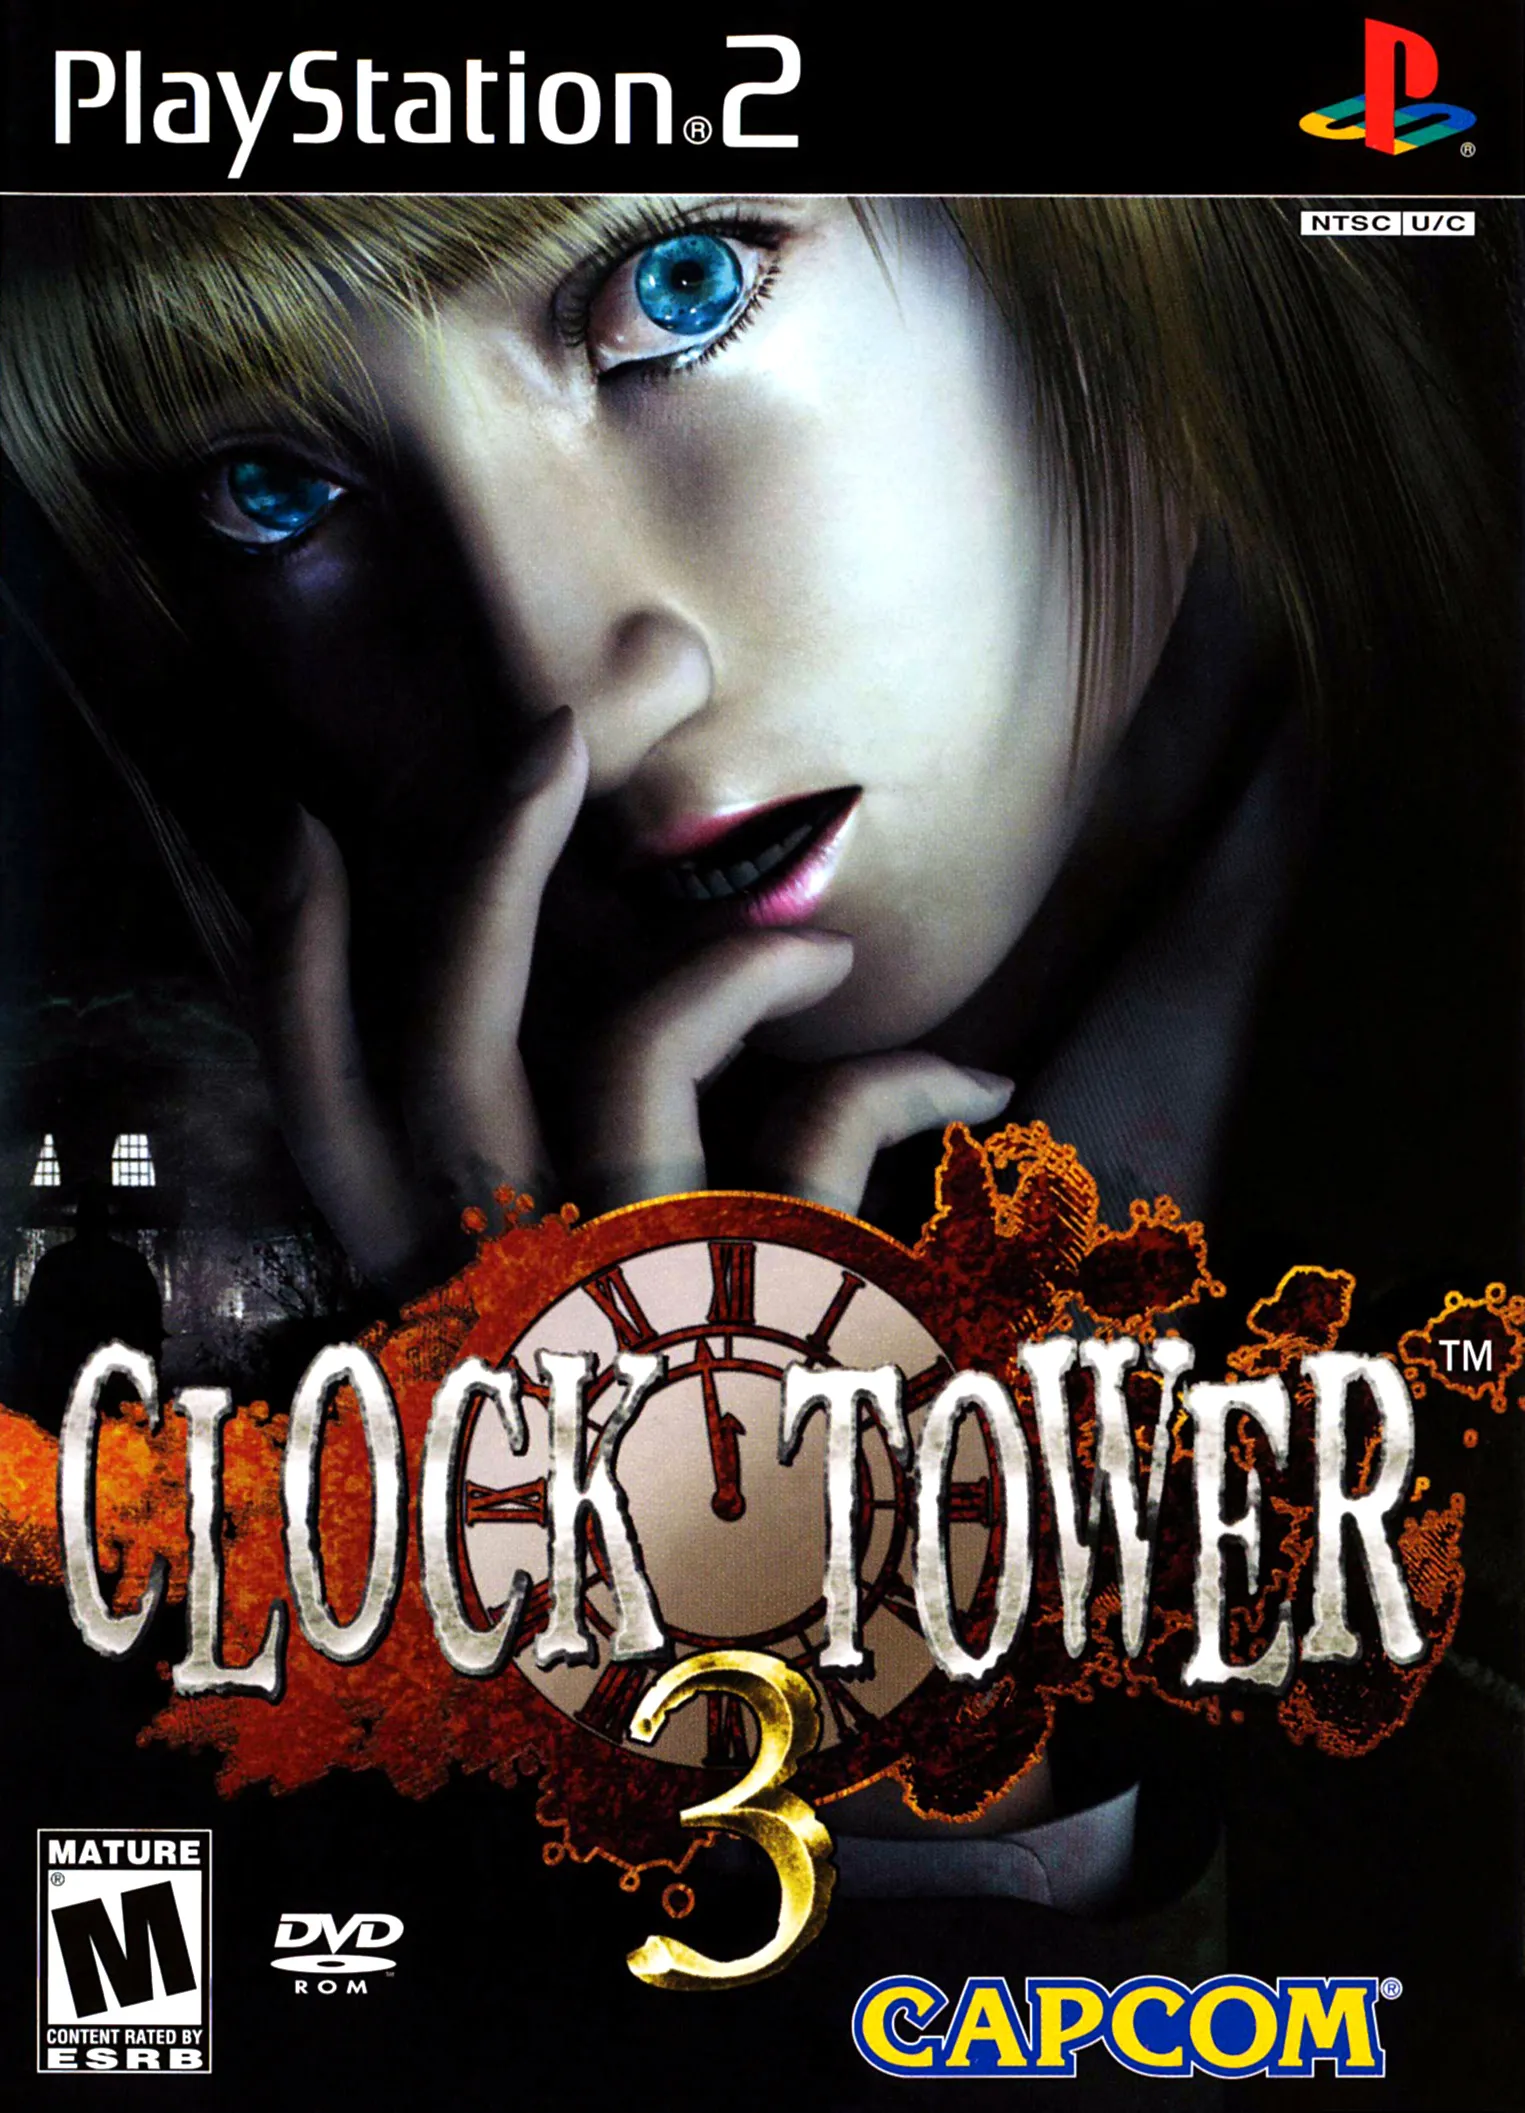
Here’s a spoiler-free guide for Clock Tower 3 containing some general hints and advice. I don’t think I have a whole lot to say this time around. I found the game to be pretty easy and straightforward.
If you want me to cover something that’s not mentioned here, please leave a comment.
All strategies are based around an initial playthrough.
Any Alternate Endings / Routes / Etc.?
Answer hidden in case someone doesn’t want to know.
Click to reveal.
No. Just play the game.
Any Missables?
Same deal as above.
Click to reveal.
Sort of. You can’t return to most areas once they’re cleared, so any consumables obtained from the environment or healing spirits will be lost. Consumables aren’t that important, as bosses don’t even allow you to use them.
Final Boss
First things first, you need to accept the fact that this fight will take a while. The boss has a ton of health, and your attack opportunities are extremely limited. There’s no way for you to recover HP, so you can’t afford risks to inflict more damage. There is nothing about this fight that’s more important than patience.
Audio Cues
- Play with the game’s audio on. Some people like to play outside audio while doing tedious tasks in games, but you don’t have that luxury here. The boss is often offscreen, and using their voice clips to know what attacks are coming and when is absolutely essential.
- I didn’t try it myself, but presumably lowering the music volume in the options menu would keep the voice clips and punctuate them even further. It might help you focus.
- The boss babbles something before using their default attack. I legitimately don’t know if it’s actual words or just a grunt, but you’ll know the voice clip, since it’s the same every time.
Dodging & Waiting for Opportunities (Part I)
- This fight has a fairly consistent rhythm to it of dodging, attacking once, then dodging again. There’s nuance I’ll get into, but never press your luck for additional attacks until you’re used to identifying longer openings.
- Generally, do not bother ducking (default: circle). The animation’s lag between ducking and standing costs far too much time. You can potentially lose two arrow-charge levels from this. Instead, run left or right until you see the attack will miss you. The attack has no homing ability, so you can memorize its sound effect to know when it’s locked into its trajectory. It’ll aim for where you were standing when it was launched, so move ahead of time.
- The moment you’re sure the boss’s attack will miss, start charging an arrow. Try to charge two levels; the first charge is almost instantaneous, so don’t miscount. When I say “charge level,” I’m referring to the moments your arrow lights up and changes “size.” Fire the instant you reach the second level.
- If you fire an arrow with two or more charges, it will stun the boss. If they’ve yet to manifest their projectile, it’ll cancel their attack, forcing them to start their animation over. If you’re quick, you can potentially get off one or two more rounds of two-charge shots, continuously stunlocking the boss.
- That isn’t guaranteed, though. The boss’s recovery time before they can attack again is faster than your own, so they will eventually outpace you and break their stunlock. Basically, don’t be greedy. This is one of many parts of this fight you’ll just have to get a feel for. Of course, you can simply accept the fight taking longer and not go for more than one arrow at a time.
The Arena & Altar
- The altar in the arena’s center is extremely important. You should attempt to keep the altar between you and the boss at all times. When maneuvering the arena and dodging or whatever else, favor the direction that makes the boss have to take the long way around the altar. If you’re facing the boss and they’re more towards the right of the altar, hang around the opposite (left) area, etc.
- One reason for this prioritization is simply that it takes the boss more time to get close and deliver some of their other, potentially more dangerous attacks. The other reason is that the boss’s AI seems to struggle with walking around the altar. Their pathing can get screwed up, causing them to pace left and right, wasting time and allowing you to further charge arrows.
- There’s a section of the arena that’s broken off, preventing the floor from being a perfect circle. This is strictly a detriment to you, as the boss can move over holes. It’s usually not an issue, since when the boss gets close, you should already be running to the other side of the arena, but still, make sure you’re not cornered.
The Boss’s Attacks
- The boss will mostly spam projectiles as they slowly move towards you. If their projectile hits, you’ll not only take damage, but be temporarily chained to the area. When chained, you can move a short distance, but going too far causes you to stumble. Read the section below for more details.
- If you have three chains placed on you, the boss will immediately do a special attack that instantly kills you, regardless of your current health. Naturally, this means if even one chain gets placed on you, you should focus entirely on dodging until you’re free again. Don’t have to redo the entire fight because of impatience.
- Once the boss is around 75% health, they’ll introduce a new attack. After shouting, “there’s no escape,” a red circle will appear near Alyssa. If you’re too close to its center, you’ll be damaged, knocked down, and stunned. Flick the control stick in different directions to get free. The idea is you’re held in place so the boss can easily place a chain on you, where things can really start going downhill.
- Dodging this second attack follows the same principles as the projectile. Listen for the audio and be moving ahead of time. Take extra care to not be cornered. If you reach a dead end and the circle spawns behind you, you might be forced to turn around and run through it, getting caught.
- A key distinction of this attack is that the boss cannot be stunned out of it. The moment their voice clip starts, the attack is guaranteed to happen, even if you interrupt their voice clip with an arrow. Always assume the attack is still coming!
- The boss’s attack pattern changes when in close range. Their melee attacks are wide and fast; you have no hope of competing with them. Move to the opposite side of the arena, preferably taking wide turns to keep out of their attack range. Never let the boss get close, ever.
- When really close, the boss will attempt to grab you. If they do, they’ll drain your health while recovering their own. Flick the control stick rapidly to escape. Even the minimum HP the boss can recover is substantial, so this is a horrible thing to have happen. Again, never let them get close!
- Making matters worse, the boss temporarily powers up after grabbing you. I’m not sure to what extent they change, but at the very least, their projectile becomes a three-way shot, making it harder to dodge. This is one of the times you’ll just want to duck instead of chancing an attack. Wait out their power-up while keeping an eye on the distance between you and the boss. Maybe their attack power increases as well, but obviously, I’d recommend the same thing: retreat.
- Towards the end of the fight, the boss starts performing shockwave attacks. I didn’t get a great feel for how this affected the fight, which leads me to believe it doesn’t, really. It’s another attack that tracks your last position, so continue moving, like always. Bob and weave, baby.
Dodging & Waiting for Opportunities (Part II)
- Between attacks, there’s a chance the boss wastes time laughing maniacally. If your charging happens to sync up right, go for an extra one or two levels of charge before firing. Don’t force it; you can’t really predict when the laugh is coming. Ideally, you begin aiming as soon as you know you’ll dodge, as usual, then notice they’re laughing and lock yourself in for a stronger shot. Keep an eye on the boss’s body language, as they’ll stand in place and roll their shoulders back before laughing, so you’ll have more time to determine if you’re safe.
- A four-charge arrow has a chance of binding the boss. This is great, since it allows you to stay in a comfortable position longer without moving, since the boss can’t continue their slow approach towards you. Also, if the boss attempts to move too far, the chain will yank them back, giving you more time to charge arrows.
- Five-charge (full charge) arrows guarantee binding, but getting the chance to fire one of these is like finding a unicorn. I suspect I fired two or three the entire fight. It requires a lot of things to go right.
- Generally, I wouldn’t recommend playing around binding the boss. If you get a binding, consider yourself lucky. Just keep going for two-charge shots and take the chance for more once you feel the fight’s rhythm out. Or don’t, and do nothing but patient, two-charge shots. I never put enough bindings on the boss to fire a super attack. Binding chances aren’t really in your control during this fight.
- When the boss is bound, there’s a chance they forcibly break their binds, as opposed to them wearing off over time like normal. They seem to start doing this as they approach half-health. Counterintuitively, this is really helpful. Stacking bindings is almost a lost cause, but attacking isn’t. If you see the boss crouch down and start gathering energy to break their bindings, begin charging. This is by far the most time you’ll have to charge a shot.
Once their bindings break and the boss returns to a neutral position, fire! It’s fairly easy to hit the boss for big damage and instantly place another binding. Just do not fire while they’re going through the “breaking” animation, because your shot will be completely blocked. You should only fire after the animation is fully complete. - Near the end of the fight, the boss finds a new way of wasting time, saying something along the lines of “ready to give up?” This is just more attack chances, so take ’em. In this regard, the fight actually is hardest during the middle and easier towards the beginning and end. Hang in there!
- Alyssa’s hitbox is tied very closely to her model. Being knocked down is effectively the same as ducking, so the boss’s projectile will miss. This is really tricky, but it’s possible to strategically time knockdowns from the red circle attack and your binding chains so that you’re on the ground as the projectile goes over you. Flicking the control stick has you get up faster, but you may want to get a feel for delaying standing back up so that you don’t immediately get hit by a projectile upon standing.
The most practical way to exploit this is in breaking your binding chains. It seems to me that stumbling from your chains decreases the amount of time they’re active. You could just wait them out normally, of course, but if you’ve got the guts, you can incorporate dodging into your attempts to break free sooner.
Keep in mind that Alyssa stands up on her own, eventually, regardless of anything you do. You can’t just avoid touching the control stick and stay on the ground forever.
Special Arrows
- If you have any special, limited-use arrows like the Repellant Arrows and Binding Arrows, you’ll obviously want to use them. Repellants stun and inflict decent damage, while the Binding Arrows instantly bind the boss. Presumably, Binding Arrows can be used in short succession to get a super attack off, but I wasn’t successful in doing so.
- I’d say to conserve your special arrows for when you have two bindings placed on you after the boss has introduced the red circle attack. That’s probably a good time to panic and stunlock the boss in hopes of waiting out the binding time. Otherwise, just hold on to them for as long as possible, since you never know when things will go badly.
- I saved every single special arrow in the game for this fight, and I’d estimate shooting them all added up to about 30% of the boss’s health. It’s really not that much. Don’t freak out if you enter this fight with no special arrows. To even get the boss within kill range of a full special arrow stock, you need an understanding of the fight that should be enough to beat it without special arrows. They’re not that impactful.
Leave a Reply